5 Steps to Create a Monster in Houdini: From Teeth to Tentacles
As soon as Wolfram Neuer, Lead Artist at RABCAT, made his first creature in Houdini, he knew he could take his skills to the next level. Following five key steps, Wolfram summoned a tentacled beast from the depths of Lovecraftian horror. Read on to get a glimpse of his first creature in Houdini, then see his process:
 My name is Wolfram Neuer and I am a Lead Artist at RABCAT in Vienna, Austria, where I enjoy the creative freedom and variety that comes with small productions and small development teams. Based in Vienna, I've been working in the games industry for 16 years. I've contributed to AAA console titles like Test Drive Unlimited, Split Second, Forza Horizon, The Crew, and Overwatch.
Influence of Week 1
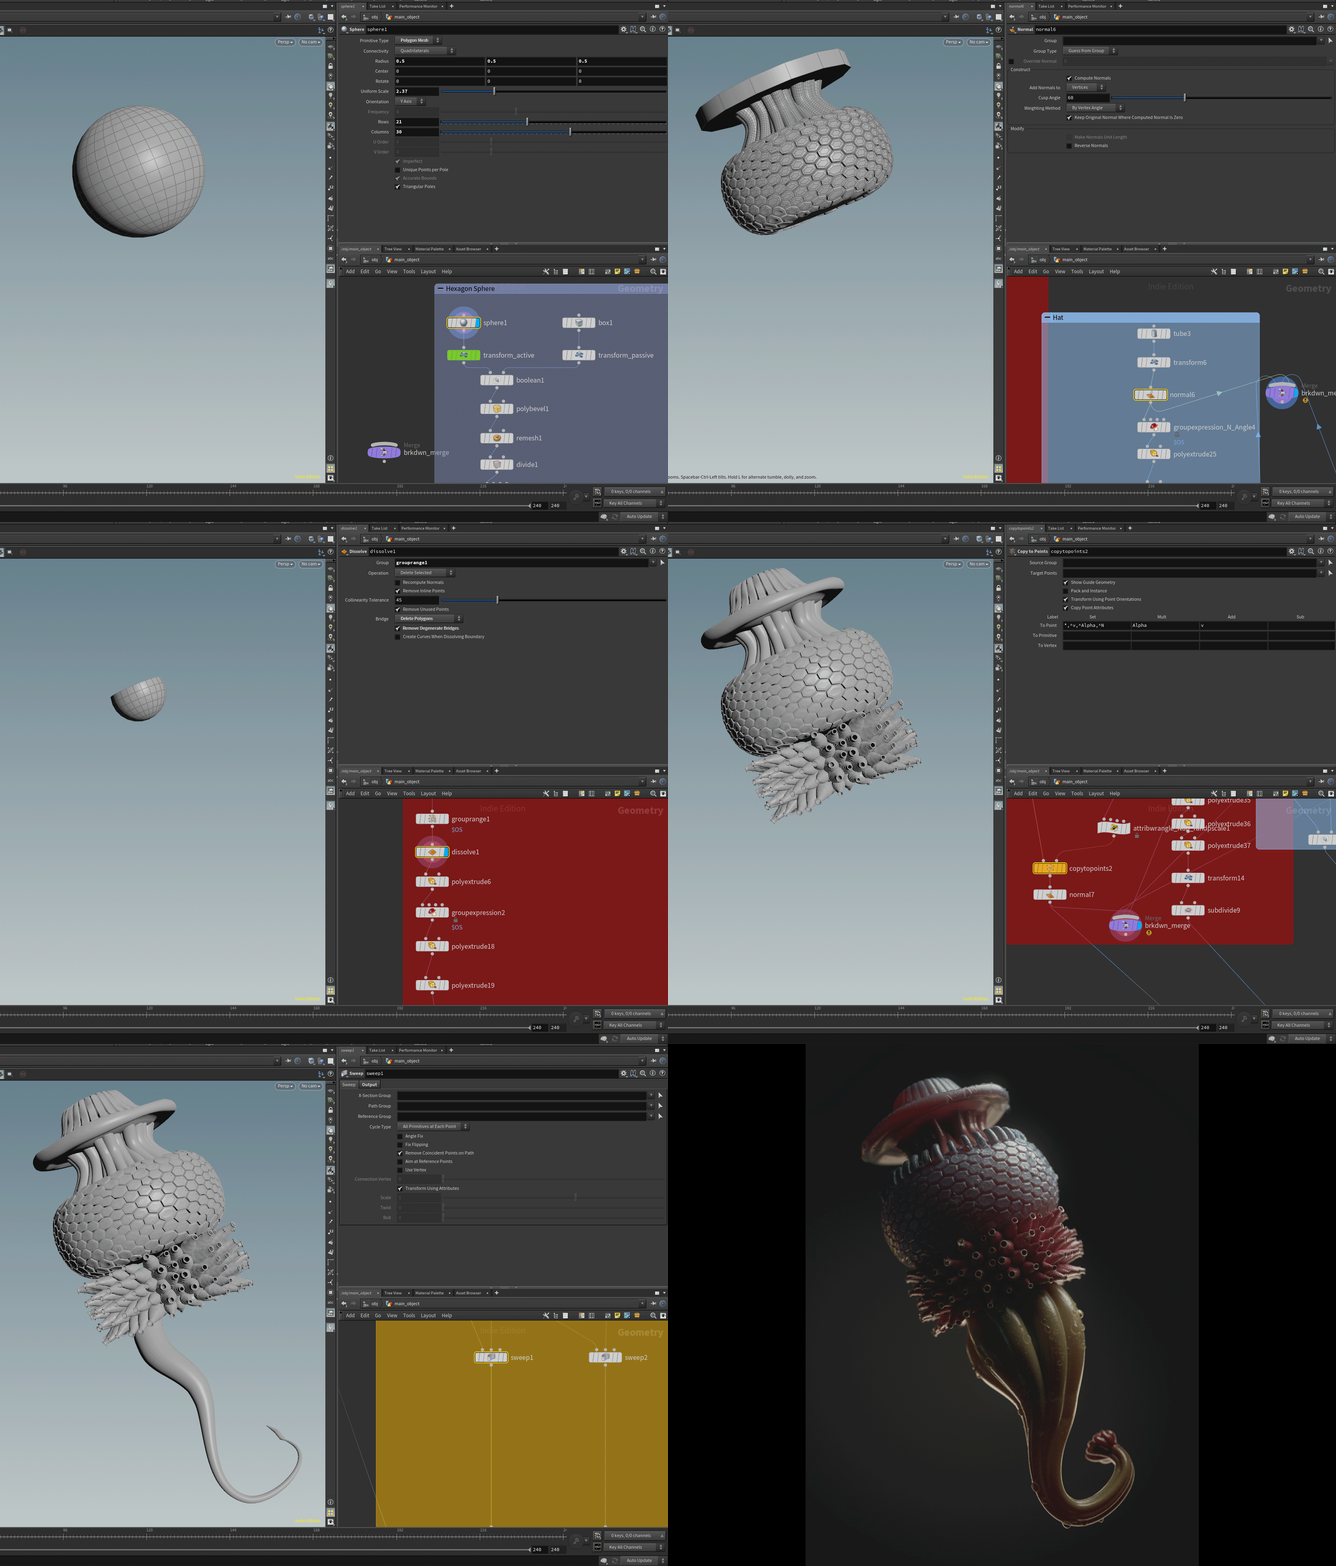
My first week's homework, “Porpema Medusa," gave me a lot of ideas to explore during my final project. I wanted to implement the Houdini knowledge I learned throughout the course to once again create a type of creature. I eventually returned to the ideas around my work in the first week, this time leveraging how well the procedural possibilities of Houdini could be used for designing organic objects.

1. Brainstorming
I was listening to a few H.P. Lovecraft audiobooks during the course. This was probably one of the main reasons why I decided to model a tentacle alien for my final project. During my search for inspiration, I discovered a concept by an artist called Lordigan on Deviant Art which I used as the main reference.
My scene layout was also influenced by the movie Arrival, which I’m a big fan of.

CONCEPT ART BY “LORDIGAN”
In terms of craft, I wanted to create a scene full of contrasts. I compiled a list of opposing keywords that I wanted to outline in the picture:
Chaos | Order
Large | Small
Light | Dark
Twisted | Angular
Hideous | Aesthetic
2. The Workflow
I created the beast’s Blockout in ZBrush, and the first Environment pass was done in Maya. The human figures came from 3d Scan Store, which I later bent into the pose with Soft Selections. However, all later steps were done inside of Houdini.

If you want to learn how to use software like Zbrush and Maya, explore CGMA's introductory courses.
FIRST BLOCKOUT
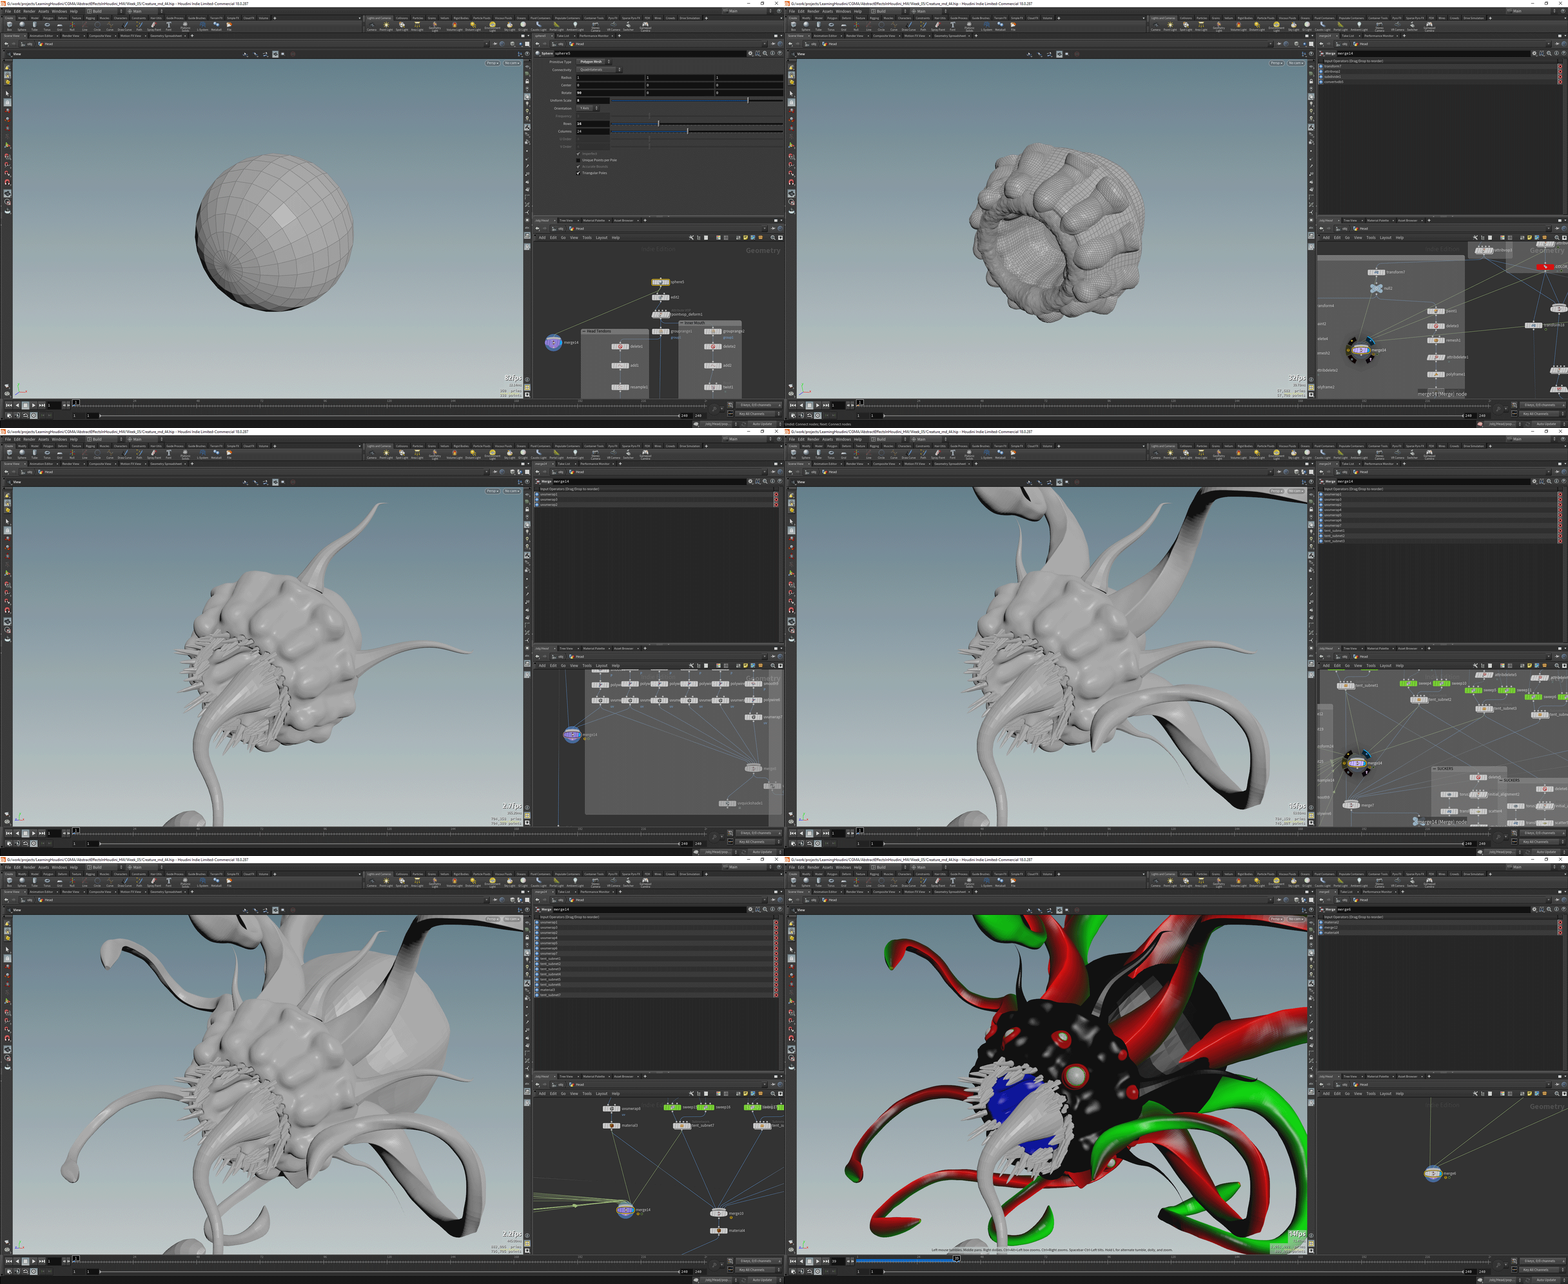
I took a few simple primitives, colored them differently using point colors, so I could later create masks from them. Then I applied noise deformers and turned the objects into VDBs to blend them organically into each other. During the VDB conversion, the previously assigned masks got lost, so I had to transfer them back again with attribute transfer. It was a similar process to my week one project, “Porpema Medusa."

CREATURE'S HEAD
In this project, the head consisted of a modified sphere, the mouth of a torus, and the rest of the spline objects. As for the teeth, I used the Paint Tool to define an area on the torus, where I scattered points to which the teeth were later copied. The orientation of the teeth was controlled by a small VOP network and the sockets for the teeth were accomplished with a combination of VDB Reshape and VDB Combine Nodes. The eyes setup was a bit more complex. A particle system was utilized to randomly distribute the eyes on previously defined areas. Particles that spawned in other areas were deleted immediately. I never intended to animate this creature, but I really liked the idea to implement a modified geoboil setup into my project.
CREATURE'S TENTACLES
The tentacle setup was pretty straightforward. These were just extrusion objects, which size and twist attributes I controlled via ramps. The colored masks were then used again to control different attributes in the Shading Network.
Looking to make your own creature? Check out CGMA course Creature Design for Film and Games.
3. Texturing
Since this was a Houdini exercise, I obviously wanted to do as much as possible procedurally. A manual texturing approach was out of the question, due to lack of time anyway. However, after I couldn't get the desired results with the beast’s skin fast enough, I went to texturing.xyz and got a rhino texture. I integrated this texture into my existing procedural shading network, which worked quite well. For the eyes, teeth, and tongue I used a very simple shader setup with a repeatedly used stretched noise texture. All creature shaders feature high Glossiness and Sub Surface Scattering values.
My plan from the beginning was to show the humans as silhouettes only and make them stand out with a bit of rim light. I achieved this with high SubSurfaceScattering Settings, which allowed me to control the size of the rim light without having to adjust the lighting. The materials of the rest of the environment all used barely modified shader presets with simple textures. The subtle splashes on the windshield have been added in post-production.
4. Lighting
To achieve the intended mood for this setting, I made use of lighting situations known from museums or sci-fi labs. The diffuse lighting from above and the illuminated glass floor from below were created by using Area Lights. The light strip under the base was a light geometry, which gave the base a higher quality appearance and helped with the readability of the scene. I also used a very low-energy HDRI and a small spotlight in the mouth area of the creature to provoke a highlight on the tongue. The look of the panels in the background results from a mixture of self-illumination and reflections.

Glow has played a big role in the lighting of the location. The whole ceiling window area benefits from a large-scale Glow that appears almost volumetric. The glow of the light strip at the lower base of the glass cube ensures that the persons in the foreground still stand out well enough in the fairly dark environment.

The illuminated fog not only underlines the importance of the creature, but it was also necessary to ensure its readability despite the many tentacles. The fog was placed mainly in the back of the cube to ensure that the head stands out from the background well enough.
Learn how to put your scene's lighting to use in CGMA course Lighting and Shading for Film Production.
5. The Presentation
For the composition of the scene, I defined in advance which elements I considered more important than others. It was obvious that the creature had to be in focus, but in the next step, I wanted to emphasize the contrast between the chaotic appearance of the beast (wild tentacles, eyes randomly scattered over the head, rampant teeth, ...) and the organized, rectangular shapes of the hall. I wanted the visual weight of the people to be below or at most equal to the rest of the environment.
The readability of the picture was very important to me as well. The scene should also look appealing as a small thumbnail. Therefore, I regularly zoomed out of it while working on it.

No matter what kind of subject it is, the same rules of image composition apply. Maybe these rules are a bit more important for abstract elements to compensate for the missing relation to real objects. However, only a few of my pictures qualify for the category of abstract effects. But this could change in the future because this is an interesting subject to me.
Feedback
- I discovered Houdini in August 2019 and was immediately hooked. However, after the first sense of achievement with a bunch of beginner tutorials, I got lost. The flood of different learning materials with various and sometimes contradictory techniques slowed down my progress. The CGMA promotion video and the diverse student gallery convinced me to sign up for Abstract FX in Houdini. The course covered SOPs in detail, be suitable for my rudimentary Houdini knowledge, not explain the Houdini UI in detail again, and still show a wide range of techniques.
- The biggest challenge as a family man with a full-time job was the time-management. But with a little bit of planning in advance and an understanding from my family, it was nevertheless possible to put the time into the course that I thought was necessary.
- The blocking and conceptual design possibilities that resulted from this workflow immediately fascinated me. It was very handy to be able to modify the head shape, number, and alignment of teeth on the finished model. However, if this had not been a Houdini practice, I would have finished most of the beast in ZBrush. Nevertheless, the little journey into the world of Creature FX will be very helpful for future projects, when I need to evaluate, which step can be implemented in which software in the most efficient way.
- I liked the fact that, in addition to the technical aspects, a lot of emphasis was put on the artistic side and the presentation of the students' work. This applies both to Adam Swaab's lessons as well as the support and feedback from Maxime Hacquard. At the moment, Abstract FX in Houdini is led by Maxime Hacquard.
- Apart from the improved Houdini knowledge, I learned that I need to set deadlines for my private projects as well. When I signed up for the course, I certainly did not expect to be able to show acceptable pictures at the end. But the strict deadlines and the appropriately defined scope of the assignments allowed me to do more and better work than I had anticipated. Next, I will focus my efforts on SOP animations before I move on to the dynamic areas of Houdini.
RELATED LINKS
If you want to learn how to use software like Zbrush and Maya, explore CGMA's introductory courses.
Looking to make your own creature? Check out CGMA course Creature Design for Film and Games.
Learn how to put your scene's lighting to use in CGMA course Lighting and Shading for Film Production.
LEARN MORE
CGMA provides comprehensive instruction for Art, Games, and VFX industries in a variety of courses for a range of students, from 2D and 3D artists looking to supplement their college studies to industry professionals looking to stay up to date on emerging trends and techniques in the field.


