


8 Detail-Oriented Steps to Model a Flashy Spaceship
3D Artist Mark Hołubowski took "overachiever" to a whole new level while completing his hard surface model of a spaceship. From creating new greebles to picking up new software, Mark's enthusiasm, dedication, and skill definitely come across in an impressive final product. Read his breakdown, which includes:
- Concept Choice
- General Shapes and Blockouts
- Topology Roadmap
- Greebles
- Materials
- Lighting and Renders
- Lessons Learned
- Final Result

 My name is Mark Hołubowski and I’m a self-taught 3D artist. I was born in USA, California but raised in Poland. After completing my bachelor’s degree in sound engineering in 2017, I realized that my love for games, great characters, and epic worlds was actually the right career path for me. Now I'm working as a 3D artist at Beffio!

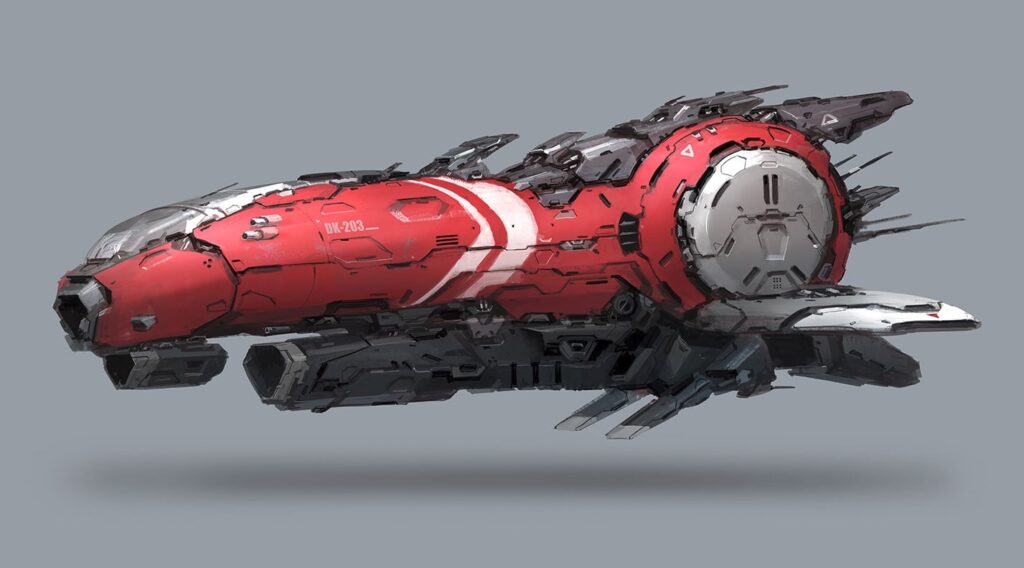
1. Concept Choice
For this course, I was trying to recreate J.C Park’s concept art. By the way, I highly recommend checking out J.C’s work. He creates some really awesome sci-fi concepts!
2. General Shapes and Blockouts
When I usually make hard-surface models, I start by blocking out general shapes using simple primitives or planes. If I’m working with a concept I’ll first set up image planes and match my scenes camera with the image.
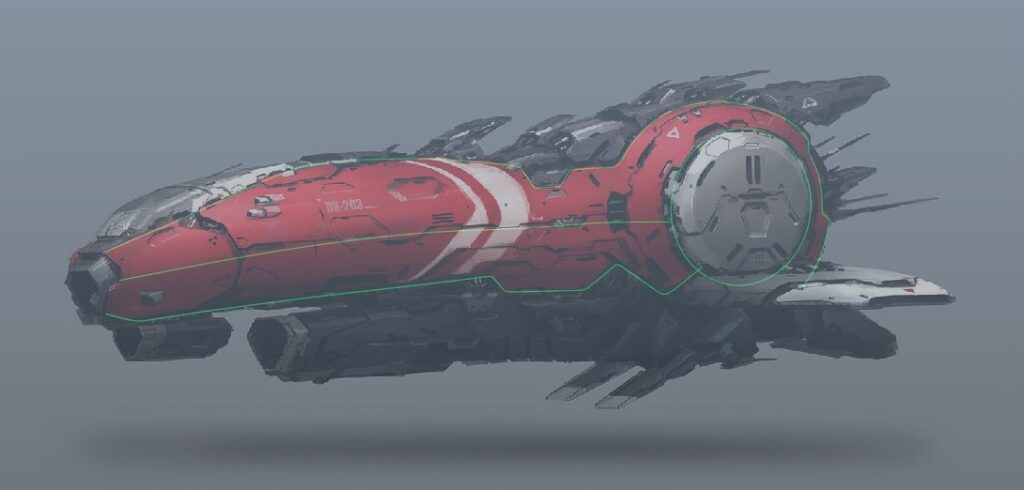
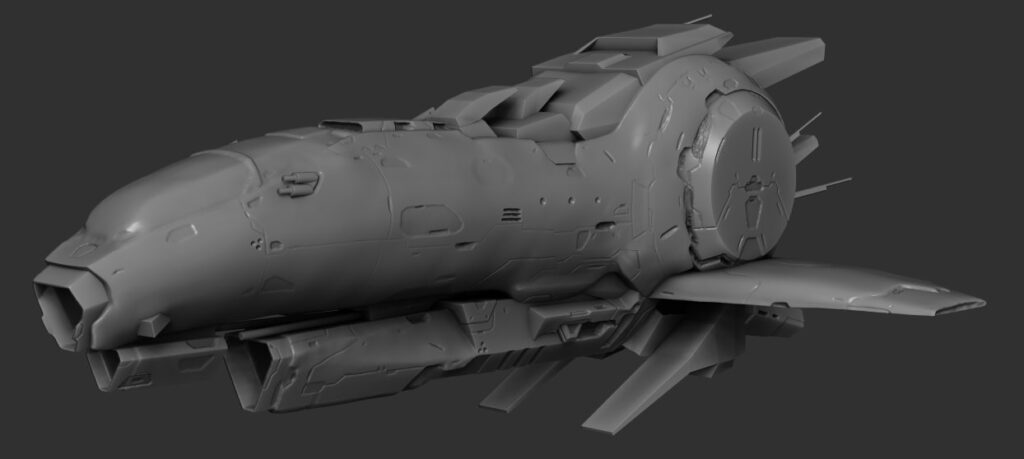
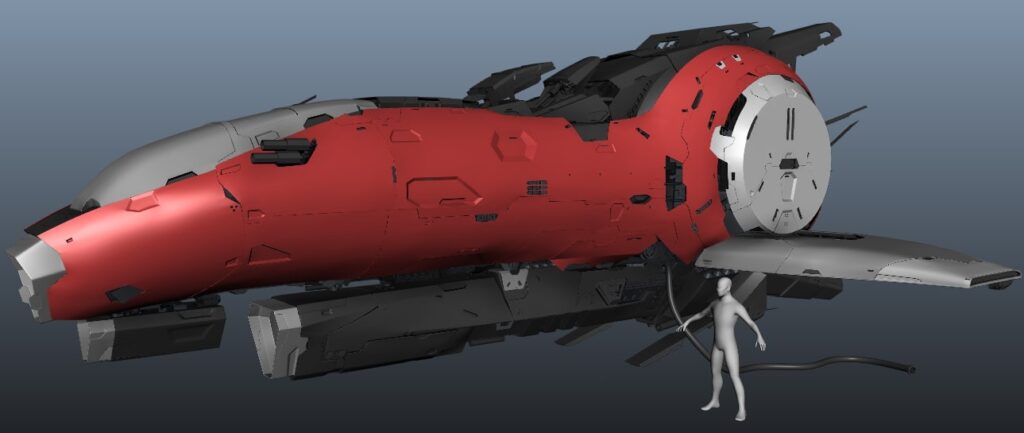
The main body of the ship is a fairly complex shape so I decided that using primitives wouldn’t cut it. Instead, I blocked out the spacecraft using NURBS curves. After that, I used Create Polygon Tool to create geometry in-between the curves, added a few edge loops and ended up with a nice base shape for the body.


As for the rest of the parts, it’s all either cylinders or some basic modeling done on some cubes. Here is what I ended up with.
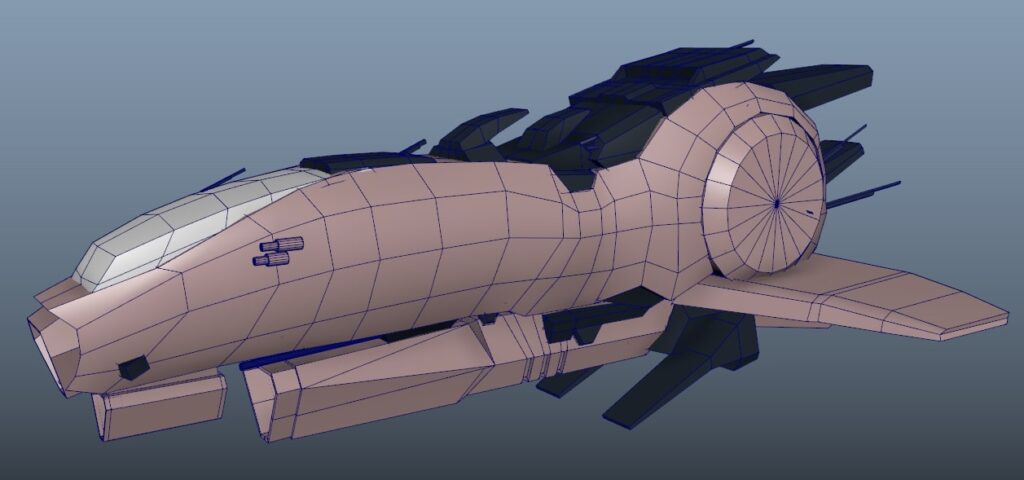
This should be a low-stress process. The blockout is temporary, so it really doesn’t have to be perfect. This step is so you can get an overall understanding of the model and get the proportions right.
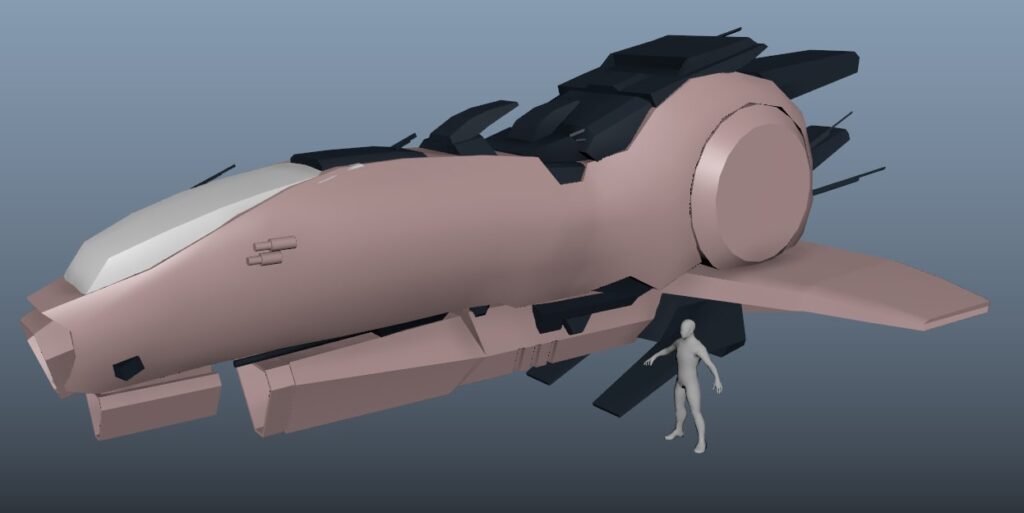
One last step before moving on is giving your object the proper scale. Jay provided us with a simple model of a human to help with scaling our blockouts, however, if you don’t have one of those I’m sure a 1,8 m cube will suffice.
Learn more about Instructor Jay Machado in this webinar!
3. Topology Roadmap
Once I felt the shape was good enough I started sculpting in the details. This stage is all about creating a roadmap for where to place the details.
In hindsight, I wish I had created a separate layer for details. More importantly, I should’ve spent more time on making the shape smoother and not as bumpy. This caused some issues when retopologizing the model. But I’ll talk more about that later.
Anyway, now it’s time to take this model to Maya and start working on some nice, smoothable topology. Before doing so, remember to decimate your model using the Decimation Master plug-in. The hull panels and cockpit were created using Maya’s Quad Draw tool and all the other parts were made with good old box modeling.

It’s important to have a good amount of resolution in your meshes when trying to have sharp cuts in such curved surfaces. Otherwise, some really bad deformation after smoothing is unavoidable.
Read "5 Hard Surface Modeling Details to Advance Your Weapon From ‘Good’ to ‘Real’" to improve your modeling skills.
4. Greebles
So the ship’s surface was starting to look cool but it was clearly empty on the inside. This is where greebles come in. Jay shared a pretty sizable library to work with.
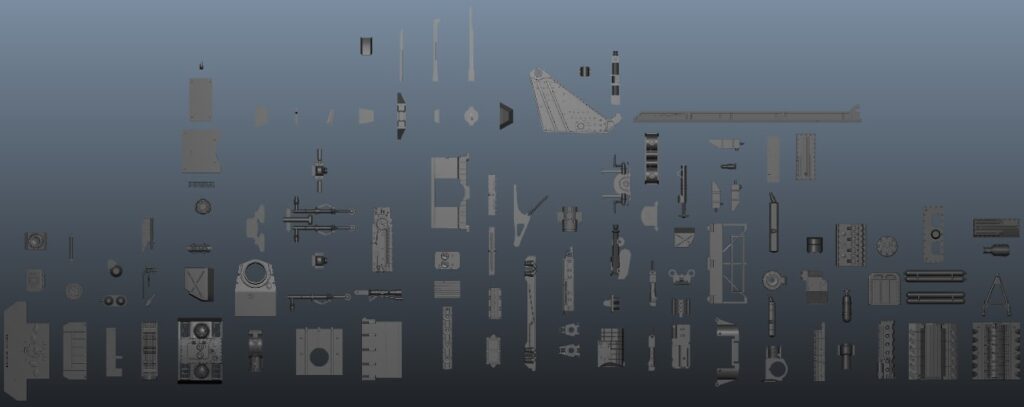
Not all parts you see here are supplied by Jay. I had to complement the collection by making some greebles that I felt were missing for my concept or that just would fit the aesthetic better. What I’m meaning to say is don’t be lazy and only work with what you were given. Make what you need! There, that’s a life lesson for everyone.
I honestly went somewhat crazy with the greebles, but I’d say it was worth it. My approach was to make the detail seem like it has a purpose. A good way of achieving that is by combining parts in your library into bigger pieces or by detailing some greebles with other greebles. The possibilities are endless!
Scroll through these images to see Mark's greebles!


One last thing before finishing things off is to find some good spots for cables, as those give another layer of realism to some hard-surface models. Extruding a cylinder along a curve or just using the wire deformer tool are great ways for some fast and easy cables.
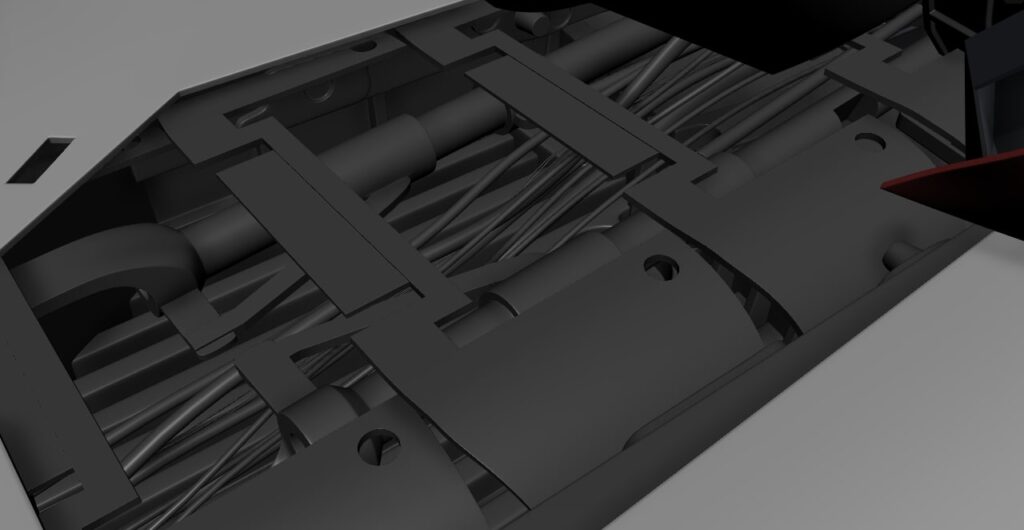
It is highly important to give the illusion that the model is not actually empty inside, as well as to populate the scene with greebles in a way that doesn’t look random or ‘cookie-cutterish’. Placing all these little details in a considered manner, having them be a part of a bigger shape or section of your model, makes it more difficult for the eye to make out the separate greebles you stitched together which is definitely a good thing, but it does require some creativity.
5. Materials
For Jay’s class, there really wasn’t any reason to take the model into this software solution, but I really wanted to take the opportunity to learn something new.


Since the non-commercial version of Mari only supports up to 6 UDIMs and the whole spaceship is laid out into 22 UDIMs I decided to only paint the ship’s hull the way it’s painted in the concept. Red with white lines and decal. Basically, I only used Mari for the diffuse map and all the material work was done in Arnold or Keyshot.
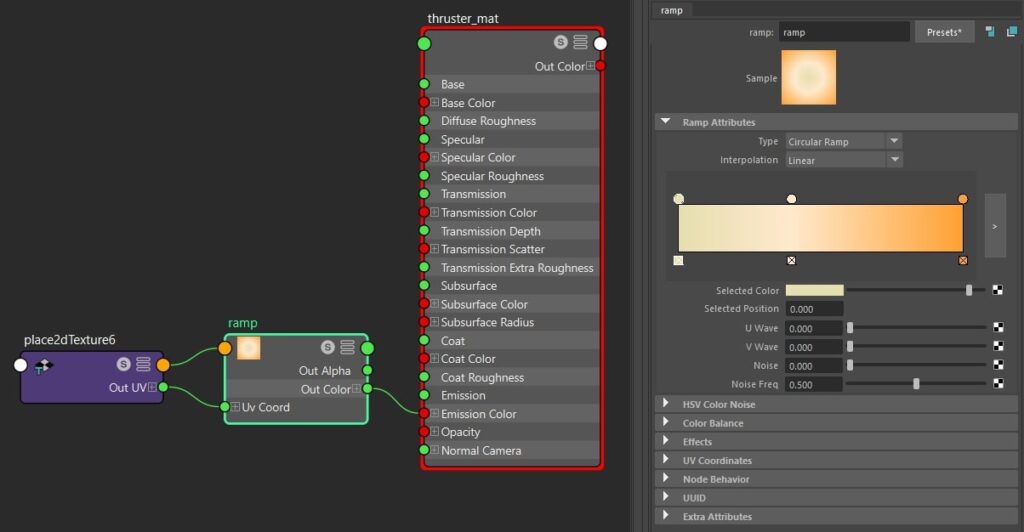
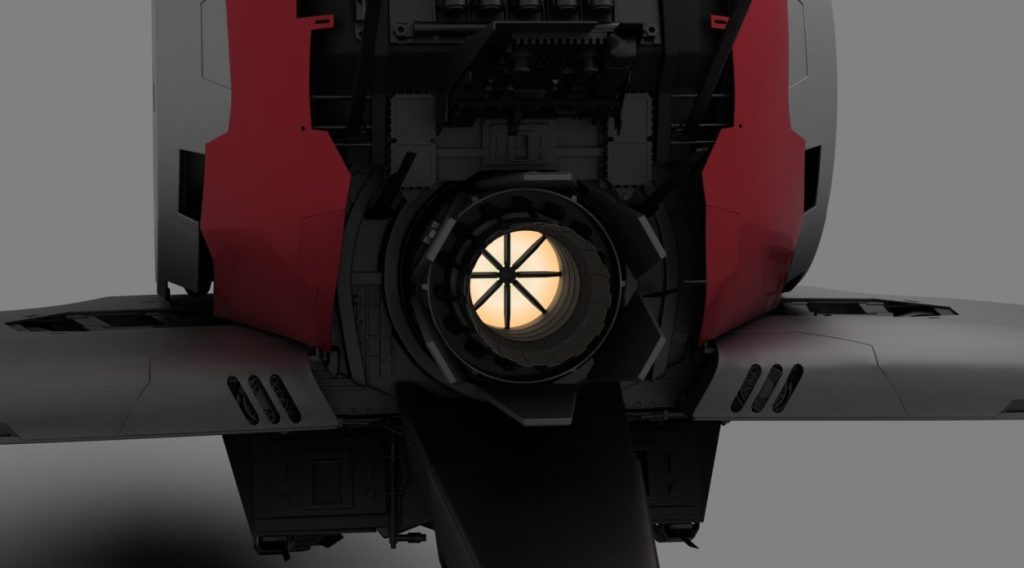
As for the materials, I didn't get too fancy. The body of the ship was a car paint preset, the cockpit was a chrome material, and the rest was just different colored metal. For the thruster glow, I used a ramp which I connected to the emission input for the standard shader and for the Keyshot version of the render, I used the materials that came with the software with no additional tweaking.
6. Lighting and Renders
The biggest challenge of the rendering stage for me was the lighting. A lot of it was trial and error. For this project, I used an HDRI map from FlippedNormals Studio HDRIs and an Arnold area light to lighten the scene. However, before settling for this setup, I spent a lot of time tweaking stuff like the number of lights in the scene, placement, size, intensity, and exposure.
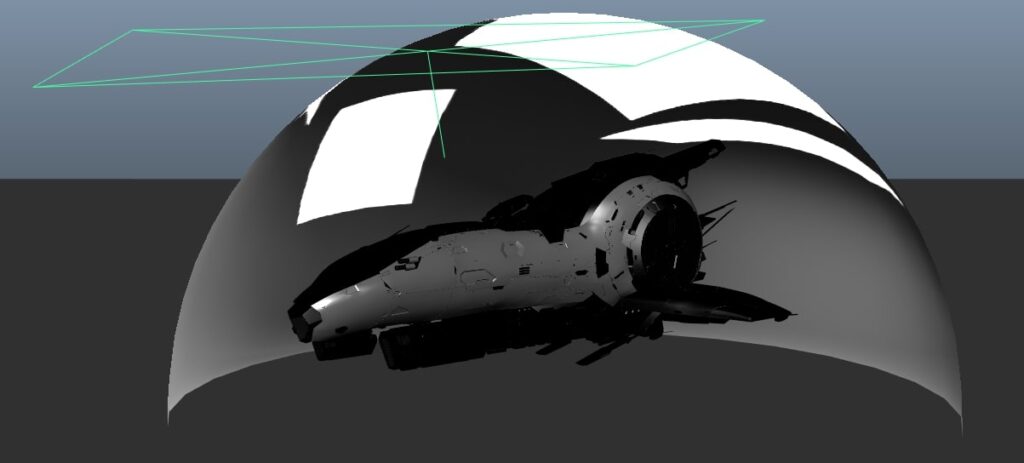
Luckily, rendering engines have come a long way over the years. The fact that you can see the effects of your changes so interactively without having to wait more than a couple of seconds after every modification to the lighting or material makes the whole process quite enjoyable. For the Keyshot render, I just used another FlippedNormals HDRI map with no additional lighting.
I liked the effects that I was able to achieve in Arnold more but I found that quality renders took much longer, specifically between 15 and 25 minutes. Keyshot would give me a satisfactory render in something around 5 minutes, so that’s where I decided to produce my turntable.
7. Lessons Learned
While working on the red hull panels I didn’t yet understand well enough how to model curved surfaces with sharp cuts that would smooth nicely. Also, having a messy concept sculpt as a live surface for retopology definitely worked against me. The result was beyond messy. A ton of pinching and wobbly edges. Eventually, I decided to redo all the panels, this time differently, however. I’ve taken the plane I made during the blockout phase from NURBS curves and subdivided it until I felt I had enough resolution to support all the detail.
Now the old messy panels worked as a roadmap on where all the cuts and details should be placed on the new surface.
Scroll to see some before and afters.


I recall one more issue I ran into while working on this project. I wouldn’t exactly call it a mistake, but it was a good lesson nonetheless. After the greeble pass, it was time to UV the whole model. That is where I discovered that many greebles had either bad UVs or none at all. As you can imagine the process of giving the greebles their missing UVs, then finding and transferring the layout to all duplicates in a scene that has 500+ greebles was a time-consuming and tedious process that could’ve been easily avoided. Therefore, I would strongly recommend that if your scene has many duplicates of the same mesh, just give the original some UVs beforehand. Even if you have a plug-in for transferring UVs to multiple meshes, it’s still faster to not have to do so, especially in cases like the one I had.
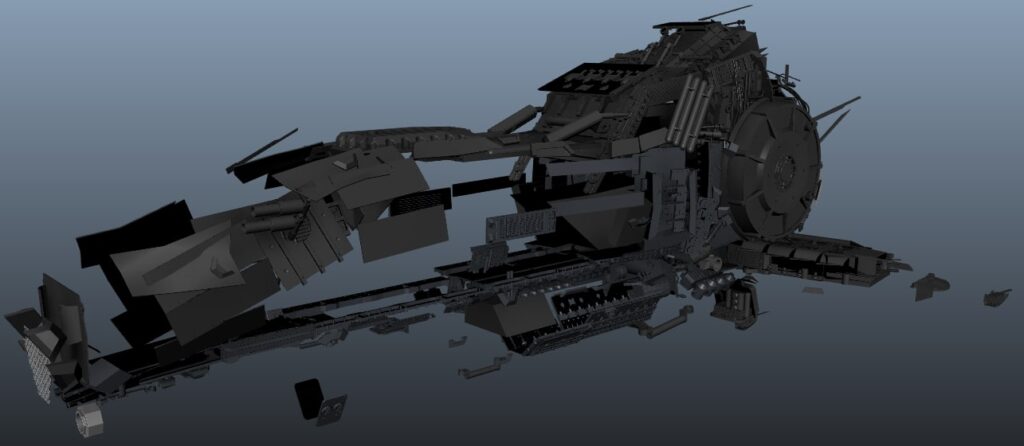
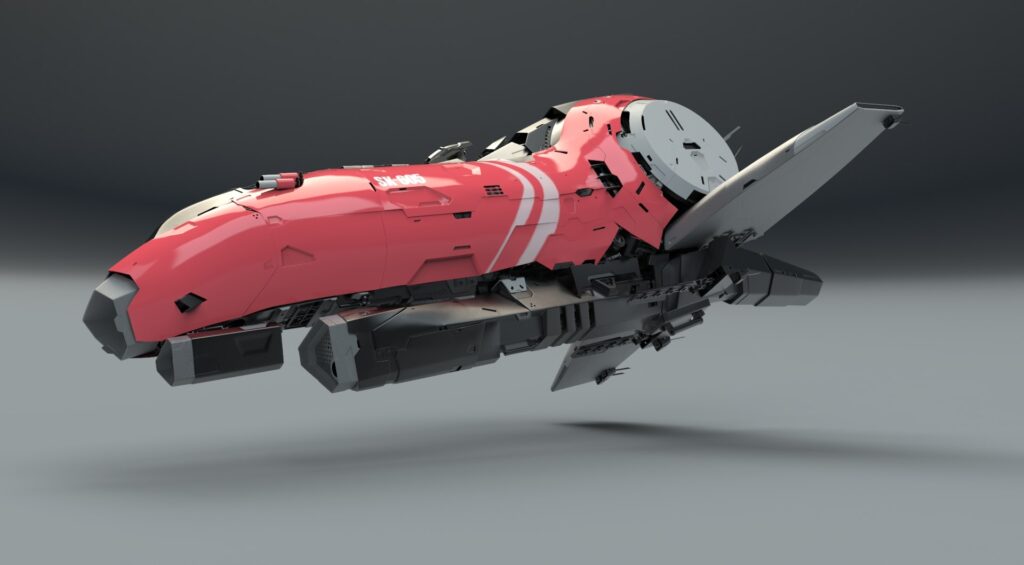
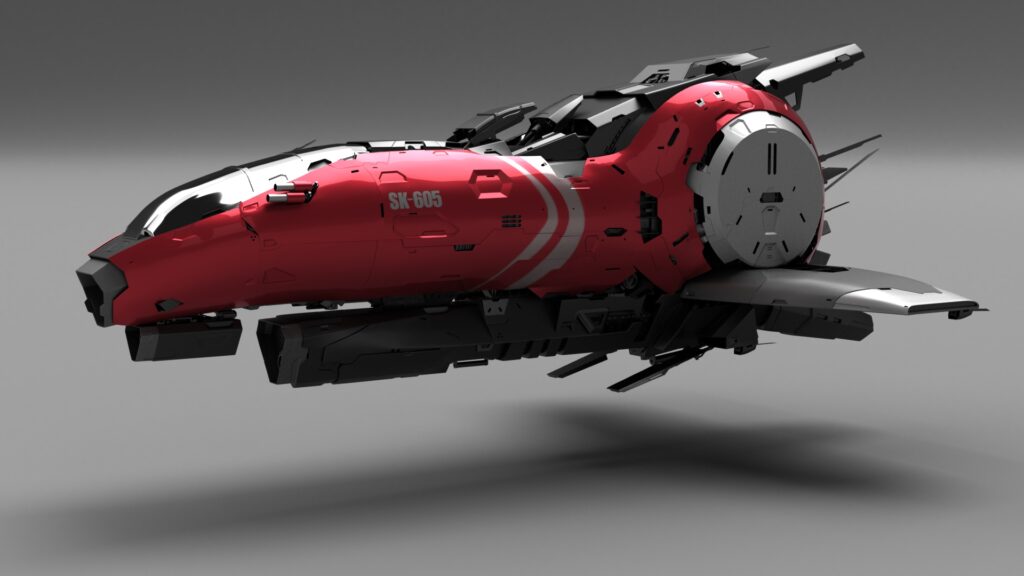
8. Final Result
So there you go, the model is done, just like that. Scroll to see final images!


Final Thoughts
- Right off the bat, I must say that Jay’s class was a blast. I very much enjoyed the format of pre-recorded lectures, because all the knowledge is more precise and easy to find than in a live, real-time alternative.
- My goals for this course were pretty straightforward. I am really into sci-fi and the idea of designing cool-looking tech is very appealing to me. Therefore, I wanted to get good at hard-surface modeling. I've had some hard-surface experience in ZBrush, but I felt that there was much to improve and that learning to model in Maya would be a great skill to have. After the course, I've realized it's more accurate to say that modeling in Maya is a pretty essential or almost mandatory skill to have, at least in my opinion.
- Jay himself was an excellent teacher as he was quick to answer any questions posted in the forums and without his feedback, I surely wouldn’t have been able to resolve the issues I had with bad mesh deformation. In the Q&A sessions, he went beyond the program by showing us how he goes about texturing in Mari and Substance Painter what definitely was a pleasant surprise.
LEARN MORE
CGMA provides comprehensive instruction for Art, Games, and VFX industries in a variety of courses for a range of students, from 2D and 3D artists looking to supplement their college studies to industry professionals looking to stay up to date on emerging trends and techniques in the field.
RELATED LINKS
Check out Hard Surface Modeling for Films to model your own spaceship.
Learn more about Instructor Jay Machado in this webinar!
Read "5 Hard Surface Modeling Details to Advance Your Weapon From ‘Good’ to ‘Real’" to improve your modeling skills.
